The Freelancer’s Client Onboarding Checklist: 6 Steps From Inquiry to Kickoff
Every new client starts the same way: an inquiry lands, and you rebuild the wheel. You dig up the welcome email you sent three clients ago, rewrite the scope from memory, and hope you asked about budget before the kickoff call. It works, but it is slow, and it makes you look less organized than you actually are.
A client onboarding checklist fixes that. It is the short, repeatable sequence that takes someone from “I’m interested” to a booked kickoff call, with nothing forgotten and nothing rewritten from scratch. This one is built for solo freelancers, not enterprise success teams, and you can run the whole thing in a day.
What a client onboarding checklist is (and why yours is different)
Most onboarding advice online is written for companies with a customer success department, a CRM, and an implementation team. As a freelancer you are all of those at once, so your checklist has to be lean: a handful of steps you can follow on a busy week, each tied to a document or email you write only once. The goal is not a thirty-page process. It is a clear path from inquiry to kickoff that protects your time and earns a new client’s trust on day one.
The client onboarding checklist: 6 steps from inquiry to kickoff
Here is the sequence. Each step has the thing you send or fill in, and one detail that saves you later.
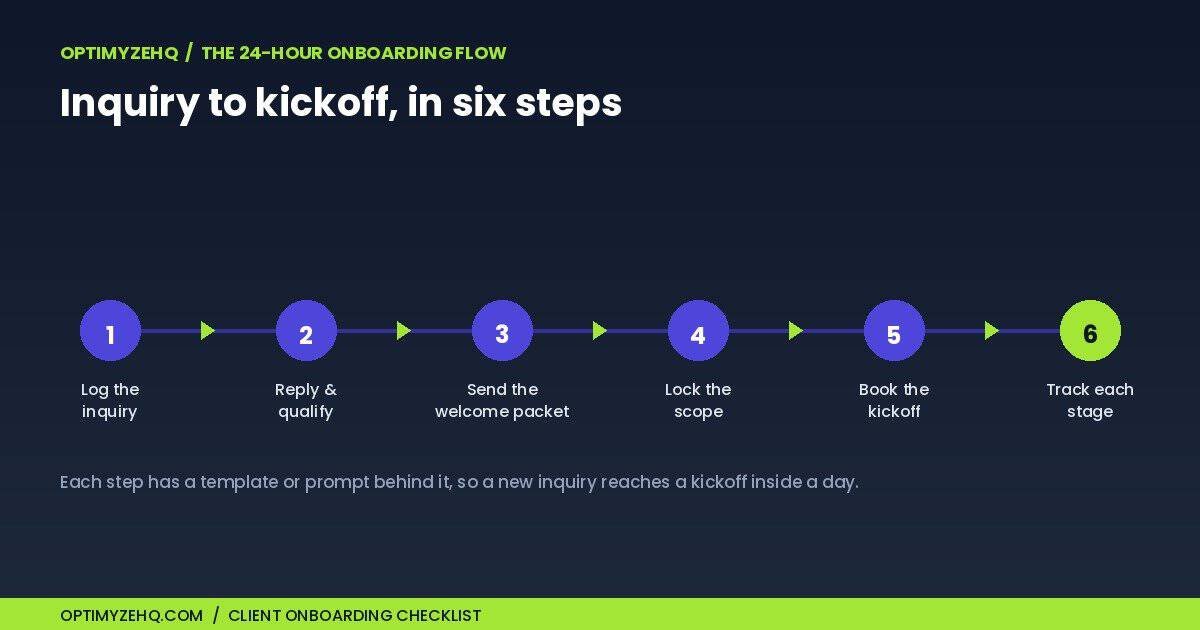
1. Log and triage the inquiry
The moment an inquiry arrives, capture it in one place: name, project type, budget range, timeline, and a one-line summary of what they want. A Notion database, or even a spreadsheet, works. The point is a single source of truth, so a lead never lives only in your inbox. Tip: add a status field (inquiry, qualified, onboarding, kicked off) so you always know who is waiting on you.
2. Reply fast and qualify
Answer within a few hours, while interest is warm. Your first reply does two jobs: it thanks them and references something specific from their message, and it asks the two or three questions you need to judge fit, namely budget, timeline, and the one detail that decides whether you can help. Tip: keep a reusable reply you adapt, rather than starting from a blank page every time.
3. Send a welcome packet
Once they say yes, send a short welcome packet: what to expect, how you work, the hours you are reachable, and what you need from them to start. This is the document that prevents most “wait, how does this work?” emails later. Tip: include the one thing you need first, whether that is assets, access, or content, with a date attached, so the project does not stall on day one.
4. Lock the scope
Before any work starts, agree on scope in writing. List the deliverables, and with equal care, list what is out of scope. That out-of-scope section is the most useful paragraph you will write, because it gives you a calm reference when a “quick extra” shows up. Tip: get a clear written yes, a literal “reply approved,” before you begin, not a vague “sounds good.”
5. Book the kickoff
Turn “let’s chat soon” into a date. Propose two or three specific time windows, set a short agenda (confirm goals, walk the timeline, agree on the first deliverable), and tell them what to bring. Tip: specific time options get booked; “what works for you?” gets ignored.
6. Track each client’s stage
Onboarding breaks when you lose track of who is where. Move each client through that status field as they progress, so a forgotten scope or an unsent welcome never slips. Tip: a glance at the board on Monday tells you exactly who needs a nudge.
Common onboarding mistakes to avoid
- A slow first reply. Interest cools fast. A same-day response signals that you are organized and serious.
- Vague scope. “A website” is not a scope. Name the pages, the rounds of revision, and what you are not doing.
- No single source of truth. If a client exists only in your inbox, something will get missed.
- Skipping the welcome packet. It feels optional until the third “how do we share files?” email.
Turn the checklist into a repeatable system
A client onboarding checklist on paper is better than nothing. A checklist built into your workspace, with the templates and emails ready to fill, is what makes onboarding take minutes instead of a morning. You can build this yourself in Notion: an intake database with a status pipeline, a welcome packet page, a scope template, and a few saved email drafts.
If you would rather start from a finished version, that is what the Client Onboarding Toolkit is: the intake forms, welcome packet, and scope template as ready-to-edit Notion pages, plus six AI prompts that draft your onboarding emails in your voice. It is the six steps above, already built. For the wider context, the guide to client management for freelancers frames how onboarding fits the rest of your client operations.
When to automate your onboarding
This checklist is deliberately manual, and for onboarding that is the right call: the first day of a client relationship benefits from a human touch. The work that should run by itself comes later, once the client is active, namely chasing unpaid invoices, sending status updates, and asking for testimonials at the right moment. That ongoing pipeline is what the Client Pipeline Engine automates, and you can automate the repetitive client admin around it too. Onboarding is the front door; the engine keeps the house running after a client moves in.
FAQ
How long should client onboarding take?
Do I need special software?
What is the difference between onboarding and the kickoff call?
What should a welcome packet include?
Onboard your next client without rebuilding the wheel
Onboarding is the first thing a client experiences, and a checklist is what makes that experience consistent every time. Build the six steps into your workspace once, and every new inquiry runs on rails. If you want it ready-made, the Client Onboarding Toolkit ships all six steps as Notion templates plus tested AI email prompts, for $57 one-time.